Introduction:
Imagine flipping the switch on your energy bills while powering your home with sunlight. Building an off-grid solar system isn’t just for survivalists or tech wizards—it’s a practical, empowering project that puts you in control. Whether you’re craving energy independence or aiming to slash monthly expenses, this guide walks you through every step, from planning to installation, with a focus on affordability and smart DIY choices.
Why Go Off-Grid?
Off-grid solar systems cut ties with utility companies, offering freedom from rising energy costs and grid outages. For remote homes or eco-conscious households, it’s a game-changer. The key? Start with a clear plan:
- Calculate Your Energy Needs: List all appliances and their wattage. A fridge might use 150W, while LEDs need 10W each. Multiply by hours used daily to find total watt-hours.
- Size Your System: Match your energy needs to solar panel output and battery storage. A typical home might require a 5kW system, but smaller setups can power essentials.
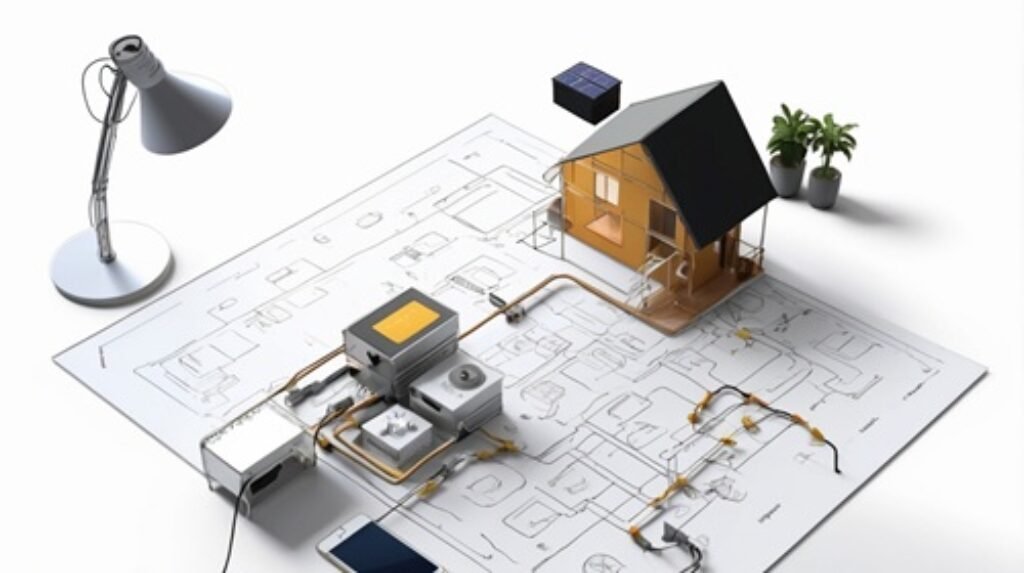
The Anatomy of an Off-Grid Solar System
Your system hinges on four core components:
- Solar Panels: Convert sunlight into electricity. Opt for affordable options like polycrystalline panels, which trade slight efficiency losses for lower costs.
- Charge Controller: Regulates energy flow to batteries. MPPT controllers are pricier but optimize performance.
- Battery Bank: Stores excess energy. Lithium-ion batteries last longer than lead-acid but cost more upfront.
- Inverter: Converts DC power to AC for household use. A 3,000W inverter handles most basics.
Solar Panels: Cheap vs. Premium
| Type | Cost per Watt | Efficiency | Lifespan | Best For |
|---|---|---|---|---|
| Monocrystalline | $0.90–$1.50 | 18–22% | 25+ years | Small roofs, high output |
| Polycrystalline | $0.70–$1.00 | 15–17% | 20–25 years | Budget-friendly setups |
| Thin-Film | $0.50–$0.80 | 10–13% | 10–15 years | Portable or temporary use |
Affordable polycrystalline panels, like those from Renogy, strike a balance between cost and reliability for DIYers.

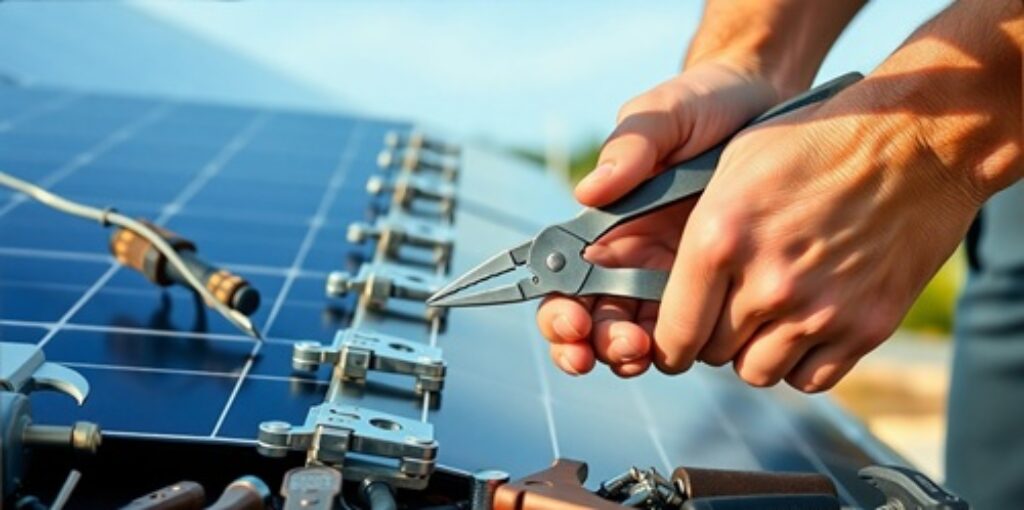
DIY Solar Panel Installation: Step by Step
1. Mounting Panels
Choose a sunny, unshaded spot—rooftop, ground mounts, or pole setups. Use tilt brackets to angle panels toward the sun (30–45° latitude works for most). Secure with corrosion-resistant hardware.
2. Wiring the System
Connect panels in series (for higher voltage) or parallel (for higher current). Use 10-gauge copper wiring for runs under 20 feet. Always include a fuse between the panels and the charge controller.
3. Hooking Up Components
- Link panels to the charge controller.
- Connect the controller to the battery bank.
- Wire the inverter to the batteries.
4. Test and Troubleshoot
Fire up the system midday. Use a multimeter to check voltages. If the inverter stays silent, trace connections for errors.
Cutting Costs Without Cutting Corners
- Buy Refurbished: Sites like SanTan Solar sell lightly used panels at half the price.
- Mix Panel Types: Use high-efficiency panels for critical loads and cheaper ones for backups.
- Skip the Solar Generator: While solar generators offer plug-and-play convenience, building your own battery bank saves in the long term.
The average home solar system cost for a DIY off-grid setup ranges from $10,000–$20,000, up to 50% less than professional installations.
Integration Tips for a Smooth Ride
- Track the Sun: Use a solar tracker app to adjust panel angles seasonally.
- Maintain Batteries: Keep lithium-ion batteries at 20–80% charge for longevity.
- Safety First: Install disconnect switches and ground your system to avoid fires.
The Trade-Offs: Freedom vs. Effort
Pros:
- Slash energy bills by 100% with enough sun.
- No blackout anxiety.
- Eco-friendly bragging rights.
Cons:
- Upfront costs can sting.
- Requires hands-on maintenance.
- Cloudy weeks mean energy rationing.

Final Spark: Your Next Move
Ready to harness the sun? Start small—power a shed or RV first to build confidence. Share your progress in the comments, or ask for advice on tricky wiring. And if you’re eyeing that $300 panel on Craigslist, check its output with a multimeter before buying.
The sun’s not going anywhere. Your energy bills, however? Those days are numbered.
Off-Grid Solar System Guide 🌞
Why Go Off-Grid?
- Energy independence: reduce reliance on the grid
- Lower energy bills and savings in the long run
- Greater resilience during outages or in remote locations
- Eco-friendly choice: use renewable energy
Anatomy of an Off-Grid System
Solar Panel Comparison
DIY Installation Steps
- Mount the panels on a sturdy structure with good sun exposure.
- Wiring: Connect panels to the charge controller safely.
- Hook up the battery bank and inverter to the controller.
- Test the system: ensure power flows correctly and safely.
Cost-Saving Tips
- Buy used or discounted panels/components
- DIY install to save on labor costs
- Start small and expand later
- Use efficient appliances to reduce system size
Trade-Offs
Pros
- Energy independence and resilience
- Reduced electricity bills over time
- Positive environmental impact
- Useful in remote locations
Cons
- High upfront costs
- Requires maintenance (battery replacements)
- Dependent on weather and sunlight
- Limited power generation/storage capacity
Final Inspiration
Start small and dream big! Even powering a single light or charging your phone with solar is a great first step.
Every journey begins with a single panel – grow your off-grid system as you learn.
Embrace renewable energy 🌱 and inspire others along the way!
Got questions about inverters or battery setups? Drop them below. And if you’re craving more DIY energy hacks, explore our guide to solar-powered home gadgets.