Introduction
Looking to update your home decor on a budget? We’ve got you covered with these easy and affordable DIY home decor ideas. Whether you’re a seasoned DIY enthusiast or just starting, these do-it-yourself projects will help you transform your space and unleash your inner designer. From creative home decorating to homemade decorations, there’s something for everyone.
Key Takeaways:
- DIY home decor ideas are a great way to update your space without breaking the bank.
- Affordable home decor projects allow you to personalize your home and express your unique style.
- Do-it-yourself projects unleash your creativity and can be a fun and rewarding experience.
- Creative home decorating adds a personal touch and makes your space truly yours.
- Embrace the world of DIY and create a space that reflects your personality and taste.
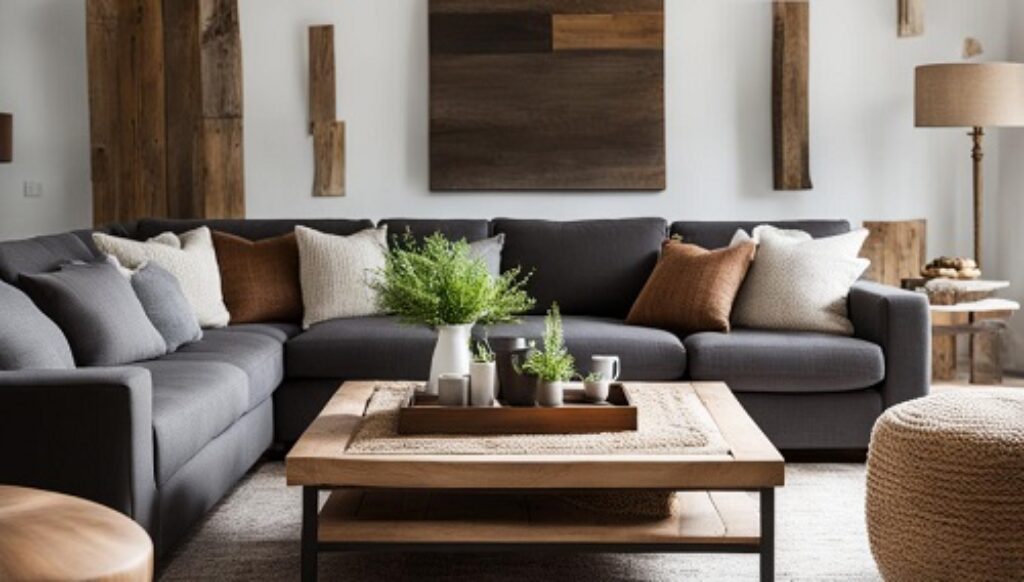
Live Edge Shelf: Make the Most of Unused Space
Looking for a creative way to utilize the unused corners in your kitchen? Why not create a DIY floating shelf with a live-edge wood design? This simple yet stylish shelf not only helps you make the most of your kitchen space but also adds a touch of nature-inspired charm to your home decor.
By following the step-by-step tutorial from I Spy DIY, you can easily create your own live edge shelf. Start by sourcing a piece of live-edge wood that matches your desired dimensions and aesthetics. Then, gather the necessary tools and materials, such as a saw, sandpaper, brackets, and screws.
Once you have everything you need, begin by carefully cutting the wood to your desired length and sanding it to achieve a smooth finish. Next, install the brackets to the wall and attach the wood to the brackets using screws. Be sure to follow the instructions provided in the tutorial to ensure a secure and sturdy installation.
The finished live edge shelf not only provides additional storage and display space in your kitchen, but it also adds a unique and rustic touch to your home. Whether you use it as a breakfast bar, a place to showcase your favorite kitchen essentials, or simply as a decorative element, this DIY project is sure to enhance the overall design of your space.
Table: DIY Materials and Tools Needed
| Materials | Tools |
| Live-edge wood | Saw |
| Brackets | Sandpaper |
| Screws | Drill |
DIY projects like the live edge shelf allow you to maximize the functionality of your home while expressing your unique style. Plus, the use of natural materials adds a touch of warmth and visual interest to your space. So, why not give it a try and transform that unused space into a stunning focal point in your kitchen?
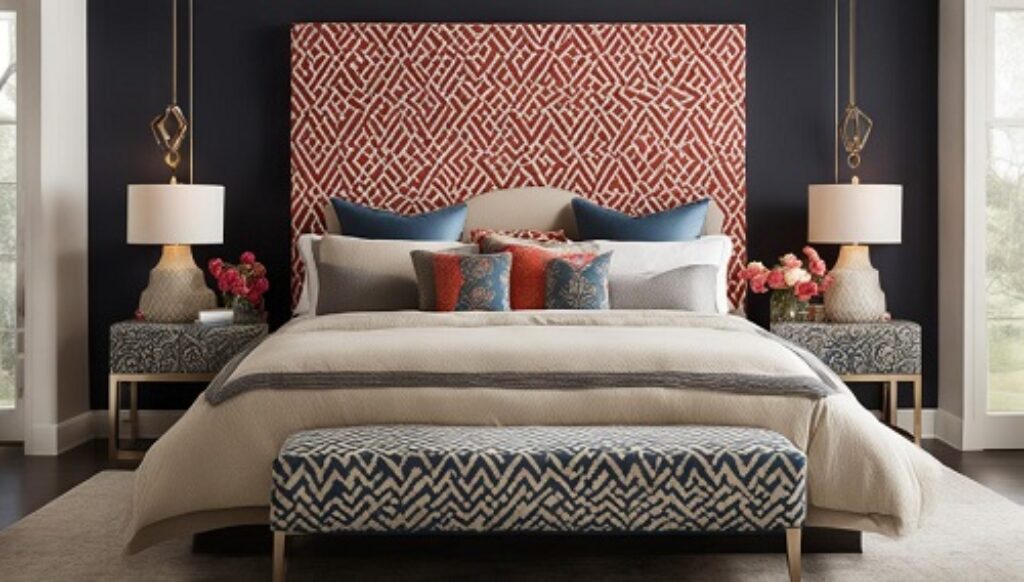
Renter-Friendly Decor: Transform Your Bedroom with a Wall-to-Wall Headboard
Are you looking for a creative way to add visual impact to your bedroom without breaking the bank? Look no further than a wall-to-wall painted headboard. This renter-friendly decor idea is both easy to execute and visually stunning. By using simple visual trickery, you can create the illusion of a larger space in your bedroom.
To achieve this look, start by selecting two complementary wall colors. Designer Julie Rose recommends Farrow & Ball’s Breakfast Room Green and a creamy white for a classic and elegant feel. Then, use a thin black line to separate the two colors. Paint the lower third of the wall to create the visual illusion of a headboard.
This wall-to-wall painted headboard not only adds a unique touch to your bedroom decor but also enhances the overall design. It’s a budget-friendly way to transform your space and make a statement. So why wait? Grab your paintbrush and unleash your creativity to create a stunning wall-to-wall headboard that will surely impress.
| Wall Color | Color Description |
| Farrow & Ball’s Breakfast Room Green | A dark, rich green color that adds depth and sophistication to the space. |
| Creamy White | A soft and neutral white shade that creates a calming and serene atmosphere. |
Cubby Cabinet: Stylish and Functional DIY Storage
Create stylish and functional storage with a vintage-inspired cubby cabinet. This budget-friendly project is perfect for organizing your space and adding a touch of unique charm. With nine spacious cubbies, there’s plenty of room to store seasonal treasures, school supplies, or office essentials.
Design and Materials
The cubby cabinet is inspired by vintage apothecary cabinets, which were traditionally used to store medicinal herbs and supplies. The sleek design and clean lines make it a versatile piece that can complement various home decor styles.
To create your own cubby cabinet, you’ll need the following materials:
- Wooden boards for the frame and shelves
- Nails or screws
- Saw for cutting the boards
- Sandpaper for smoothing the rough edges
- Paint or stain for finishing
Step-by-Step DIY Instructions
Follow these step-by-step instructions to build your own cubby cabinet:
- Measure and cut the boards to the desired size for the frame and shelves.
- Assemble the frame by attaching the boards together using nails or screws.
- Add the shelves at equal intervals, making sure they’re level.
- Sand the rough edges to create a smooth finish.
- Apply paint or stain of your choice to give the cabinet a polished look.
Once your cubby cabinet is complete, you can place it in any room to add both style and functionality to your space. Use it to store books, display decorative items, or keep your essentials organized and easily accessible.
| Advantages | Disadvantages |
| Provides stylish storage solutions | Requires basic woodworking skills |
| Can be customized to fit your space | May take time to complete |
| Budget-friendly compared to store-bought alternatives | Requires access to tools and materials |
| Adds a unique touch to your home decor | May not be suitable for small spaces |
Floral Candlesticks: Elevate Your Dinner Party Decor
Looking to add a unique touch to your dinner party decor? Consider floral candlesticks as an affordable and creative way to elevate your event. With just a few simple steps, you can transform average taper candles into stunning home decor that will impress your guests.
To create your floral candlesticks, start by gathering the necessary supplies. You will need taper candles, paint markers or acrylic paint in various colors, and small flowers or floral elements of your choice. Before painting, make sure to wipe the candlesticks with alcohol to ensure a clean surface for the paint to adhere to.
Next, let your creativity shine by adding your own floral designs to the candles. You can create intricate patterns, and simple floral motifs, or even paint each candle with a different design for a vibrant and eclectic look. Remember to decorate one side at a time to avoid smudging the paint.
Once the paint is dry, your floral candlesticks are ready to take center stage at your dinner party. Arrange them on your table as a stylish centerpiece or place them strategically around the room to create a romantic ambiance. Your guests will be impressed by your attention to detail and the personalized touch you’ve added to your decor.
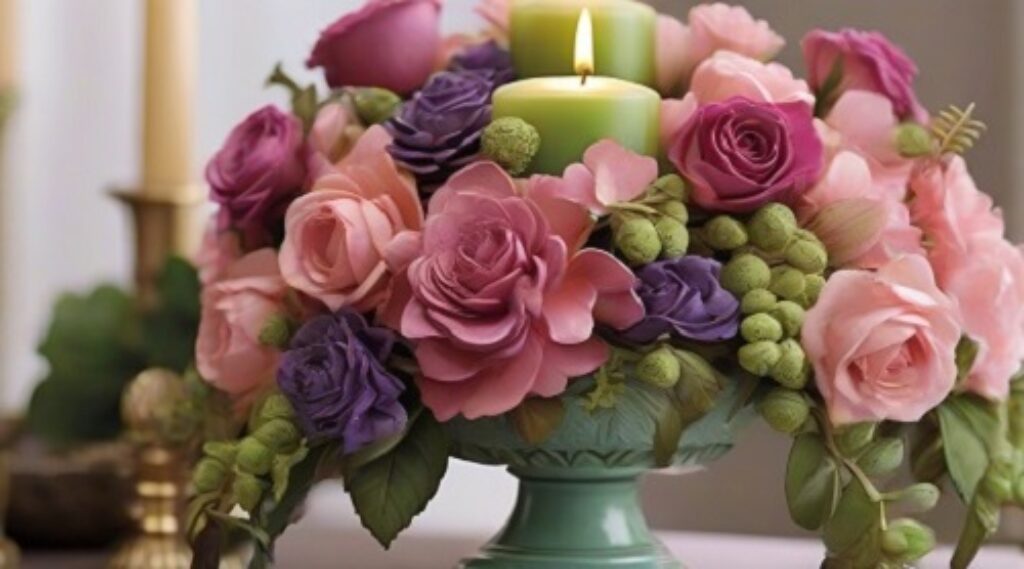
Table: Floral Candlestick Ideas
| Candlestick Design | Floral Motif |
| Minimalist Chic | A single delicate rose |
| Bohemian Dream | A mix of wildflowers and feathers |
| Tropical Paradise | Exotic orchids and palm leaves |
| Vintage Elegance | Lace and pearls |
“Floral candlesticks are a simple and elegant way to add a touch of nature to your dinner party decor.” – Interior Designer Emily Thompson
With floral candlesticks, you can create a unique and beautiful atmosphere for your dinner party without breaking the bank. This affordable DIY project allows you to express your creativity and add a personal touch to your event. So gather your supplies, unleash your inner artist, and get ready to wow your guests with your stunning floral candlestick creations.
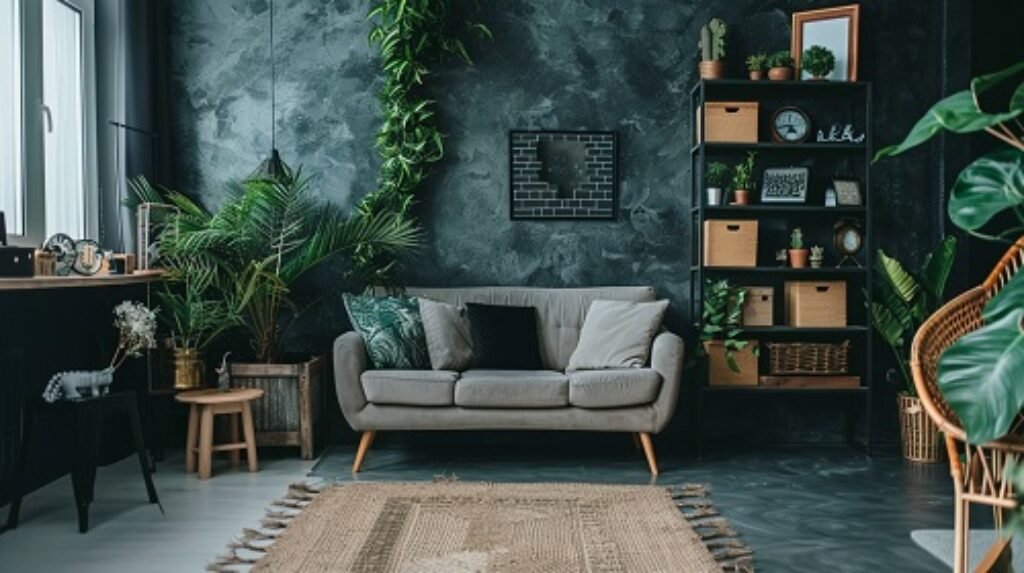
Banquette Backrest: Create a Cozy Seating Area
Looking to create a cozy corner in your home? Add backrest cushions to a seating area for a comfortable and stylish solution. Designer Ali Henrie suggests suspending cushions from brass metal drapery rods, providing a budget-friendly upholstery project that will transform any space. By incorporating backrest cushions, you can create a cozy corner where you can relax and unwind after a long day.
Why settle for ordinary seating when you can elevate the comfort and style of your space? Backrest cushions not only provide support for your back, but they also add visual interest to your seating area. Whether you’re enjoying a cup of coffee with a book or sharing a conversation with friends, the addition of backrest cushions will create a warm and inviting atmosphere.
“The banquette backrest is a versatile design element that can be added to a variety of seating areas,” says Ali Henrie. “It’s a simple and affordable way to make your space more comfortable and visually appealing.”
DIY Instructions
To create your own banquette backrest, start by measuring the dimensions of your seating area. Purchase brass metal drapery rods that are adjustable to fit your space. Next, choose the fabric for your cushions, keeping in mind the style and color scheme of your room. Sew the cushions according to your measurements and attach them to the drapery rods using durable hooks or clips. Finally, hang the backrest cushions from the rods at your desired height and enjoy your cozy corner.
| Benefits of Banquette Backrest | Materials Needed |
| Enhances comfort Adds visual interest Transforms any seating area Provides a cozy corner | Adjustable brass metal drapery rods Fabric for cushions Sewing supplies Hooks or clips for attachment |
In conclusion, the addition of a banquette backrest is a simple and budget-friendly way to create a cozy seating area in your home. With the guidance of designer Ali Henrie, you can transform any space into a comfortable and stylish corner where you can relax and unwind. Follow the provided instructions and enjoy the benefits of your own personalized cozy corner.
Teak Wall Tiles: Transform Your Bathroom into a Zen-Like Escape
If you’re looking to create a tranquil and spa-like atmosphere in your bathroom without the cost and hassle of a full renovation, teak wall tiles are the perfect solution. These natural wood panels not only add warmth and texture to your space but also provide a sense of zen and relaxation. With their sleek and modern design, teak wall tiles are a popular choice among interior designers and DIY enthusiasts alike.
Installing teak wall tiles is a relatively simple and affordable DIY project that can be completed in just a few hours. To get started, you’ll need to purchase teak panels and tile adhesive. Measure the dimensions of your wall and cut the panels to fit using a saw. Apply the tile adhesive to the back of the panels and carefully press them onto the wall, ensuring they are level and aligned. Allow the adhesive to dry completely before enjoying your newly transformed bathroom.
One of the advantages of teak wall tiles is their versatility. Not only can they be used in bathrooms, but they can also be installed in other areas of your home, such as the kitchen or living room, to create a cohesive and stylish look. Additionally, teak is a durable and water-resistant material, making it perfect for humid environments like bathrooms. It requires minimal maintenance and can be easily cleaned with a damp cloth.
To enhance the spa-like experience in your bathroom, consider adding hooks to hang fluffy towels or a bamboo bath mat for that extra touch of luxury. These small additions can make a big difference and turn your bathroom into a peaceful oasis where you can unwind and relax.
Create Your Own DIY Spa Experience
Transforming your bathroom into a zen-like escape doesn’t have to break the bank. With teak wall tiles, you can achieve a high-end look on a budget. The natural wood finish and minimalist design of teak tiles will instantly elevate the ambiance of your bathroom, giving it a spa-like feel.
“Teak wall tiles add a touch of nature to any space and create a sense of tranquility. They are a cost-effective alternative to a full bathroom renovation and can be easily installed by anyone with basic DIY skills.” – Interior designer Amy Leferink
The Benefits of Teak Wall Tiles
Teak wall tiles offer a range of benefits that make them an ideal choice for transforming your bathroom. Here are some key advantages:
- Easy Installation: Teak wall tiles can be installed by anyone with basic DIY skills, saving you time and money on professional installation.
- Water Resistance: Teak is naturally resistant to water and moisture, making it perfect for humid environments like bathrooms.
- Durability: Teak is a durable and long-lasting wood, ensuring that your wall tiles will stand the test of time.
- Versatility: Teak wall tiles can be used in various areas of your home, not just the bathroom, allowing you to create a cohesive look throughout your space.
Incorporate Teak Wall Tiles Into Your Bathroom Design
Whether you’re looking to create a spa-like retreat or simply add a touch of nature to your bathroom, teak wall tiles are a fantastic choice. Their natural beauty, durability, and easy installation make them an excellent option for any DIY enthusiast. So why not transform your bathroom into a zen-like escape with teak wall tiles and enjoy the serenity of your own personal sanctuary?
Conclusion
We hope you found these DIY home decor ideas inspiring and budget-friendly. By embracing your inner designer, you can transform your space into a personalized oasis. Whether you opt for a live edge shelf, a painted headboard, or any other project, these ideas will help you create a home that reflects your unique style.
With these easy-to-follow tutorials and affordable supplies, you can unleash your creativity and embark on a journey of transformation. Say goodbye to cookie-cutter decor and hello to a space that truly feels like yours. These DIY projects offer an opportunity to infuse your personality and create a home that tells your story.
Now is the perfect time to get started on your DIY adventure. Gather your supplies, clear some space, and let your imagination run wild. The possibilities are endless, and the satisfaction of creating something with your own two hands is unmatched. Get ready to see your space come alive with these budget-friendly transformations, and enjoy a home that is uniquely yours.
FAQ
Are these DIY home decor ideas budget-friendly?
Yes, these ideas are affordable and perfect for updating your home decor on a budget.
Can I make a DIY floating shelf for a breakfast bar?
Absolutely! Follow the tutorial from I Spy DIY for step-by-step instructions on creating a breakfast bar with a DIY floating shelf made from live-edge wood.
How can I add visual impact to my bedroom?
A wall-to-wall painted headboard is a great way to bring visual impact to your bedroom. Check out the idea from designer Julie Rose, which uses a thin black line to separate two wall colors.
Is there a DIY storage solution that is stylish and functional?
Yes, you can create stylish and functional storage with a cubby cabinet inspired by vintage apothecary cabinets. A Piece of Rainbow provides a tutorial with step-by-step instructions and a list of affordable supplies.
How can I elevate my dinner party decor?
Floral candlesticks are a unique and beautiful addition to your dinner party decor. Simply add your own floral designs to average taper candles using paint markers or acrylic paint.
How can I create a cozy seating area in a corner of my home?
Designer Ali Henrie suggests adding backrests to a seating area by suspending cushions from brass metal drapery rods. This creates a comfortable and stylish seating area that can make any corner cozier.
Can I transform my bathroom into a zen-like escape without a full renovation?
Yes, you can! Interior designer Amy Leferink suggests applying teak panels to the wall using tile adhesive. This simple DIY project adds warmth and texture to your bathroom.
How can these DIY home decor ideas personalize my space?
These DIY projects allow you to unleash your creativity and make your home truly unique. By adding your personal touches and style, you can create a space that suits you and your taste.
Discover more Home Decor ideas